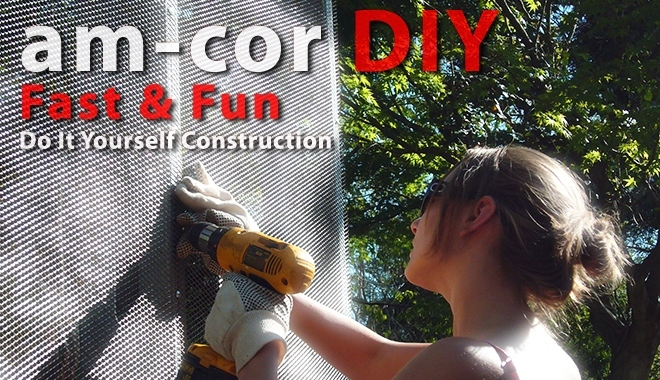
am-cor Kits are designed with DIY (Do It Yourself) contractors & owner-builders in mind.
Choose from our Standard Kits, or create your own floorplan and let us know about your project!
Do It Yourself

So you want to build your own house?
Yes, you can!
First, please read through:
- Kit Contents, and see the
- Project Checklist, and the
- Construction Sequence
Preparation
In order to assemble your Kit, you will need the following items:

- an am-cor Kit
- Sand (builder's sharp)
- Water
- Standard Portland cement
- Roofing (if you choose not to use an amcorite™ roof)
- Openings (doors & windows)
- We can include these as an Option with your Kit
- Please contact us with your preferences
Next up is labor. At the least, you will need two able-bodied individuals, who can read the included Field Manual and do basic arithmetic. For a 1000 sq.ft. house like Mille Moden , a crew of 4-6 is good.
Kit Assembly
The wall, roof, floor & partition panels which make up your Kit are light, and are designed to be lifted by two people.
- First, line out and trench for your footings, spread gravel in the trench to make sure its completely level
- Place the am-cor Footing Tray panels into the trench, factory made corner trays help make the foundation square
- Then exterior walls, am-cor panel placement is easy & fast. All panels are keyed to your Field Manual, and fit together easily.
- Now you pour the floor slab, embedding the exterior wall panels in the slab. The panels replace standard slab edge formwork and rebar reinforcing, saving a good bit of time, money, and material.
-
After you've placed the wall panels, you need to set your doors & windows. am-cor wall panels are prefabricated to the exact dimensions of your openings, so placing your doors & windows is just a few screws with the screwguns included in the Equipment Kit. Mask exterior doors & windows before amcorite application.
- Next, you need to apply the amcorite™ structural stucco coat. If you've never stuccoed before, don't worry. The rough coat doesn't need to look pretty, it just needs to be mixed properly (again, following the Field Manual) and applied relatively evenly.
- From here you can install roofing material, if your Kit calls for it.
Congratulations, you've finished the dried-in shell!
Finishing
Now, finish out the shell with standard trades:
- your choice of insulation
- electrical
- plumbing
- interior hardware & fixtures (doors, cabinets, lights)
- interior finishes (drywall & painting)
- exterior finishes (stucco, brick, stonework, siding, etc.)
And that's it, a finished Kit!
NB: Service installation (electrical & plumbing) should be easier and cheaper with the am-cor System than with standard construction. All walls in an am-cor Kit are hollow, and rafters, joists, and studs are prepunched for services - this means no drilling or chipping is required.
What's Next
If you've made it this far, you'll be interested in the Project Checklist & Sample Budget below. Also be sure to checkout the Kit Assembly section, which has construction details. am-cor Field Manual excerpts, and best practices for each step above.
Have questions or comments? Please contact us for more information.
- Project Checklist
A comprehensive checklist for planning your am‑cor Project - QuickBudget
Example Construction Cost Estimate for am-cor DIY Kits